
1
Understand the Technique
Learn how separate pieces of wood are cut, shaped and assembled into one dimensional image before starting.
Intarsia for Beginners is a practical starting guide for new woodworkers. It explains how to choose your first pattern, what basic tools you may need, how to select wood and how to approach your first project without making the process unnecessarily complicated.
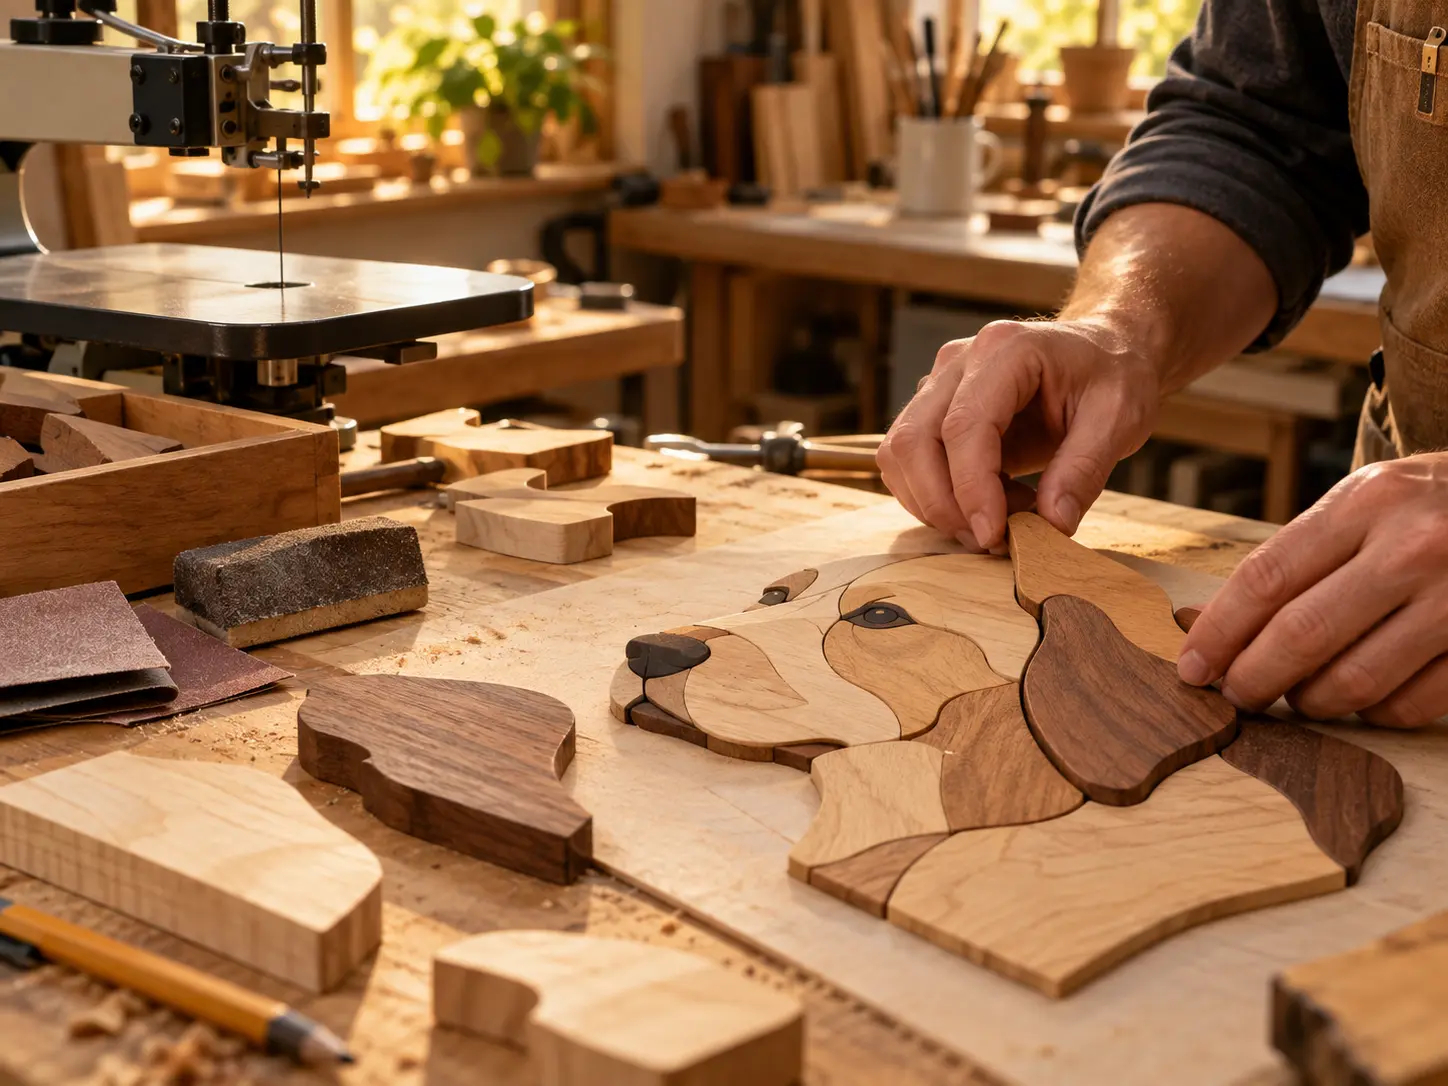
Intarsia for Beginners should start with a carefully chosen first project. A simple design gives you room to learn the core process without being overwhelmed by unnecessary detail.
A complicated pattern with many tiny pieces, tight curves and difficult fitting can make the craft feel harder than it needs to be. A simpler design gives you room to learn how your scroll saw behaves, how much material sanding removes and how individual pieces fit together.
The goal of your first project is not to create the most complicated intarsia artwork possible. It is to understand the complete process from pattern preparation through cutting, shaping and assembly.
For Intarsia for Beginners, follow the process in manageable stages instead of trying to master every woodworking skill at once.
Learn how separate pieces of wood are cut, shaped and assembled into one dimensional image before starting.
Choose a design with a manageable number of pieces and smooth curves rather than tiny intricate sections.
Think about colour, grain direction, thickness and how adjacent pieces will contrast in the finished project.
Focus on controlled cutting and staying close to the pattern line instead of rushing through each piece.
Use gradual shaping to soften edges and create depth without removing more material than necessary.
Arrange the pieces before final assembly and correct fitting problems while individual sections remain loose.
Intarsia for Beginners works best when the first project lets you practise the core technique without being overwhelmed by unnecessary detail.
Commonly used for cutting curved and detailed pieces from the individual pattern sections.
Used to smooth edges, refine fit and begin forming the rounded contours that create dimensional depth.
Appropriate woodworking adhesive is used during the assembly stage after the pieces have been fitted.
Printed patterns, measuring tools and your preferred transfer or attachment method help prepare the wood.
You do not need a huge collection of exotic woods to learn intarsia. For an early project, focus on pieces that are workable with your equipment and provide enough natural contrast for the design to remain clear.
Many first-project problems come from moving too quickly or choosing unnecessary complexity.
Tiny pieces and tight curves increase the number of difficult cuts and fitting points before you've developed a consistent workflow.
Cutting errors affect fitting later. Slow, controlled work is usually more valuable than finishing every piece quickly.
Material cannot be put back after it is removed. Shape gradually and test the fit regularly.
Grain can become part of the finished artwork, so check its direction before committing a pattern piece to wood.
Arrange the project and resolve obvious gaps or fitting problems before permanent assembly.
Your first project is a learning project. Use it to understand the process and identify the skills you want to improve next.
Understand the sections before you begin cutting material.
Place your pattern sections against available wood and decide the grain direction before cutting.
Work through the individual pieces carefully instead of trying to complete the entire cutting stage quickly.
Keep nearby pieces together so you can identify fitting problems before shaping goes too far.
Round and contour the pieces in stages, checking the overall project as you work.
Lay out the complete project before applying adhesive and completing the final assembly.
Browse digital intarsia woodworking patterns and choose a project that gives you room to practise the fundamentals before moving into more detailed work.