

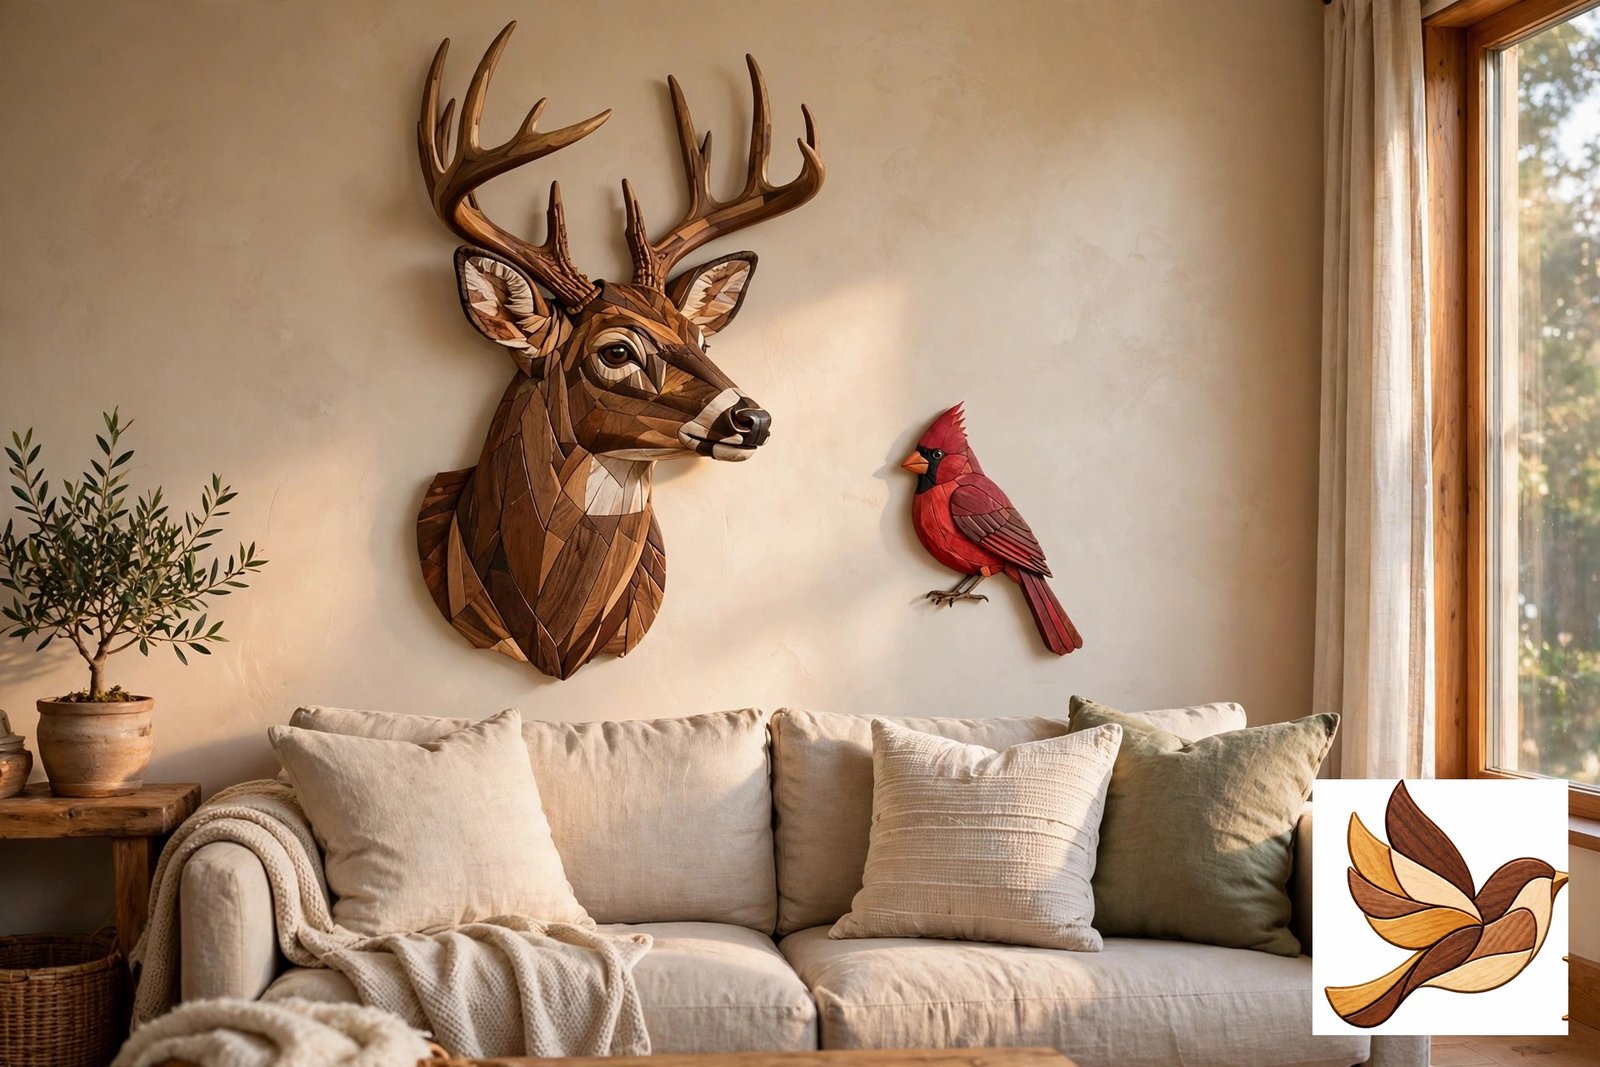
You have cut every piece, shaped it, glued it to the backer and applied the finish. Your intarsia piece looks wonderful — on the workbench. Now comes the step makers often rush and later regret: getting it onto the wall safely, straight, and in the right place. This guide covers how to hang intarsia wall art properly — the right hardware for the weight of your piece, how to fit it, where to position the artwork, and how to light and care for it so it looks its best for years.
First, Know What Your Piece Weighs
Hanging hardware is chosen by weight, and intarsia pieces vary more than people expect. A small ornament-sized piece on a 6 mm backer may weigh under 300 g. A large wildlife portrait at 9 mm thick on a full backer can pass 2 kg. Weigh your finished piece on kitchen scales before you buy hardware — it takes ten seconds and removes all the guesswork. If you are still at the building stage, our guide to the best backing board for intarsia explains how backer choice affects both strength and weight. Knowing the weight is the first step in how to hang intarsia wall art safely, because every fixing is rated by the load it can hold.
How to Hang Intarsia Wall Art: The 4 Best Ways
1. Sawtooth hanger — best for small, light pieces
The sawtooth is the little serrated metal strip screwed or nailed across the top-centre of the backer. It is cheap, invisible from the front, and the teeth give you a few millimetres of side-to-side adjustment to get the piece level. Use one centred sawtooth for pieces up to about 1 kg. Fit it before the final finish dries if you can — hammering tiny nails into a finished backer next to shaped pieces is nerve-wracking. It is the simplest answer to how to hang intarsia wall art when the piece is small and light.
2. D-rings and picture wire — best for medium pieces
Two D-rings screwed into the backer, level with each other about a third of the way down from the top, with braided picture wire strung between them. This is the gallery standard for pieces from 1–3 kg: the load is shared, the piece hangs flat, and wire makes levelling easy. Use screws long enough to bite well into the backer but short enough not to poke through the front — for a 6 mm backer, that usually means 8–10 mm screws into the backer plus the ring’s thickness. Check before you drill. If you only learn one method for how to hang intarsia wall art, make it this one — it works for most pieces you will ever make.
3. Keyhole plates — best for a flush, no-gap hang
A keyhole plate sits in a shallow routed recess in the backer, and the piece drops onto a screw head left slightly proud of the wall. The result hangs dead flat against the wall with no tilt and no visible hardware — the most “built-in” look of all. The trade-off is precision: your wall screw must be exactly where the keyhole expects it, so measure twice and use a paper template of the backer to mark the wall. It is a neat choice for how to hang intarsia wall art flush against the wall.
4. French cleat — best for large, heavy pieces
For big statement pieces — a full-size buck, eagle or tree of life — a French cleat is the strongest and most forgiving option. One angled strip screws to the wall into studs; its mate glues and screws to the backer. The piece lifts on and off in seconds, spreads the load across the whole width, and can slide sideways for perfect centring. If your piece is over 3 kg or wider than about 60 cm, this is the method we recommend. When the piece is heavy, a French cleat is the most secure answer to how to hang intarsia wall art.
How to Hang Intarsia Wall Art, Step by Step
- Fit the hardware to the backer and check every screw from the front — nothing should dimple or pierce the face.
- Hold the piece where it will hang and mark the top edge lightly in pencil. For wire hanging, remember the piece will sit lower than the hook point — measure the wire’s peak with the wire pulled up taut.
- Find your fixing. Into a stud, a single screw or picture hook is enough for most pieces. Into hollow drywall, use a proper anchor or a rail hook rated above your piece’s weight — never a bare screw in plasterboard for anything over 500 g.
- Hang, then level. A small spirit level across the top edge (or a phone level app) and a nudge along the sawtooth teeth or wire gets it true.
- Add two small bumper pads — felt or clear rubber dots on the bottom back corners of the backer. They stop the piece swinging, protect the wall paint, and keep it hanging flat.
For more renter-friendly tricks, Bob Vila’s picture-hanging hacks are also worth a look.
Where to Hang It: Placement Rules That Work
Eye level means the centre of the piece at about 145–150 cm from the floor in a hallway or standing space. Above a sofa or sideboard, ignore that rule and hang so the bottom edge sits 15–25 cm above the furniture, with the piece roughly two-thirds the width of the furniture below it. Getting the height right is the finishing touch in how to hang intarsia wall art so it looks intentional rather than accidental.
Group small pieces. Three small intarsia pieces — say a cardinal, a sleeping cat and a maple leaf — arranged as a loose triangle with 5–8 cm gaps make one strong display instead of three lost ones. Lay the arrangement on the floor and photograph it before touching the wall.
Mind the light. Wood colours are the whole point of intarsia, so hang where light falls across the surface at an angle — side light from a window or a warm picture light reveals the shaping and grain beautifully. But keep pieces out of direct sun for hours a day: all wood darkens or fades with UV over time, and pale woods like maple change fastest. North-facing walls and shaded spots are kindest. Good light is part of how to hang intarsia wall art well, not just an afterthought.
Respect humidity. Bathrooms and the wall directly above a kettle or hob are hard on wood and glue lines. Living rooms, hallways and bedrooms are ideal; if a piece must live in a steamy room, make sure its finish covers the back and edges too, not just the face.
Not Everything Needs a Wall
Small and medium pieces also display beautifully on a wooden plate easel on a shelf or mantel — a good option for renters and for seasonal pieces you rotate. Our holiday designs, for example, spend December on the mantel and the rest of the year in a cupboard, which keeps them feeling special. Easels also let you lean a piece where guests can pick it up — and intarsia is a craft people understand with their hands. If you are still learning how to hang intarsia wall art, an easel is a forgiving first step — no holes in the wall while you decide on the perfect spot.
What If You Can’t Put Holes in the Wall?
Renters and dorm dwellers still want their intarsia on display, and there are ways to do it without drilling. For very light pieces under about 500 g, heavy-duty adhesive picture strips rated above the piece’s weight can work on smooth, clean walls — but check the rating, follow the maker’s curing time, and never trust them with a heavy or valuable piece. They are a temporary fix, not a permanent hanging solution.
A safer no-holes option for how to hang intarsia wall art in a rental is the plate easel mentioned above, or a leaning picture ledge: a narrow shelf fixed with two small screws (or adhesive brackets) that lets you lean the piece against the wall and swap it whenever you like. Ledges also let you layer a small intarsia piece in front of a larger framed print, which looks deliberate rather than improvised.
Whatever you choose, the same rule applies: the fixing must be rated above the weight of the piece. That is the whole secret of how to hang intarsia wall art safely — match the hardware to the weight, keep the piece out of direct sun and steam, and it will stay put for years.
Keeping It Looking Its Best
Dust with a soft, dry brush or a barely damp cloth — never sprays with silicone, which can bloom under some finishes. Once a year, check the hanger screws are still tight and the wire has not frayed. If the surface ever looks tired, a light refresh of the same oil finish you used originally (see our guide on how to finish intarsia) brings the grain back in minutes.
Your intarsia took hours of careful cutting and shaping. Ten minutes spent learning how to hang intarsia wall art properly is what turns it from a finished project into part of someone’s home. Browse the pattern shop for your next piece — and this time, fit the hanger before you even start cutting.

Zaid Hussain
Articles from IntarsiaPattern focus on intarsia woodworking, scroll saw techniques, digital patterns and practical project guidance.



Comments 0
Have a question or something useful to add? Share it below.