

How to Finish Intarsia: Sanding, Shaping and Applying the Perfect Finish
Cutting gets all the attention, but finishing is where an intarsia project becomes a piece of art. Two makers can cut the same pattern from the same woods and end up with completely different results — the difference is almost always in the sanding, shaping and final finish. This step-by-step guide explains how to finish intarsia properly: how to contour pieces so the picture gains depth, how to sand without sanding the detail away, and how to choose and apply a clear finish that makes natural wood colours glow.
Step 1: Dry-Fit Everything Before You Sand
Once your pieces are cut, lay the complete picture out on a flat surface — ideally on the paper pattern itself — and check the fit of every joint. Small gaps at this stage are normal and will mostly disappear during shaping, but a badly fitting piece should be re-cut now, not rescued later. Number the back of each piece with a pencil and take a quick phone photo of the assembled layout; when (not if) the pieces get shuffled on your bench, you will be glad you did. Confirm, too, that your wood choices read well together — if a colour zone looks wrong, this is the last cheap moment to change species, as our guide to the best wood for intarsia explains.
Step 2: Shape and Contour — Where the Depth Comes From
Flat, sharp-edged pieces look like a jigsaw puzzle. Rounded, contoured pieces look alive. Shaping is what separates the two.
- Round every exposed edge. Using a rotary tool with a sanding drum, a spindle sander, or hand sanding blocks, soften every edge that will face the viewer. The eye reads a rounded edge as a highlight and a shadow line, which is exactly the depth intarsia is famous for.
- Work from the pattern’s logic. A wing curves down toward its tip; a cheek swells; a wave curls. Shape each piece the way the real subject is shaped, not uniformly.
- Raise and lower pieces for relief. Glue thin shims under pieces that should sit forward (a nose, a foreground leaf) and sand down the backs of pieces that should recede. A height difference of just 2–3 mm transforms the finished picture.
- Sand trouble spots by hand. Tight inside curves and delicate points survive hand sanding far better than power tools. Patience here is the whole craft.
Step 3: Sand in Stages — And Know When to Stop
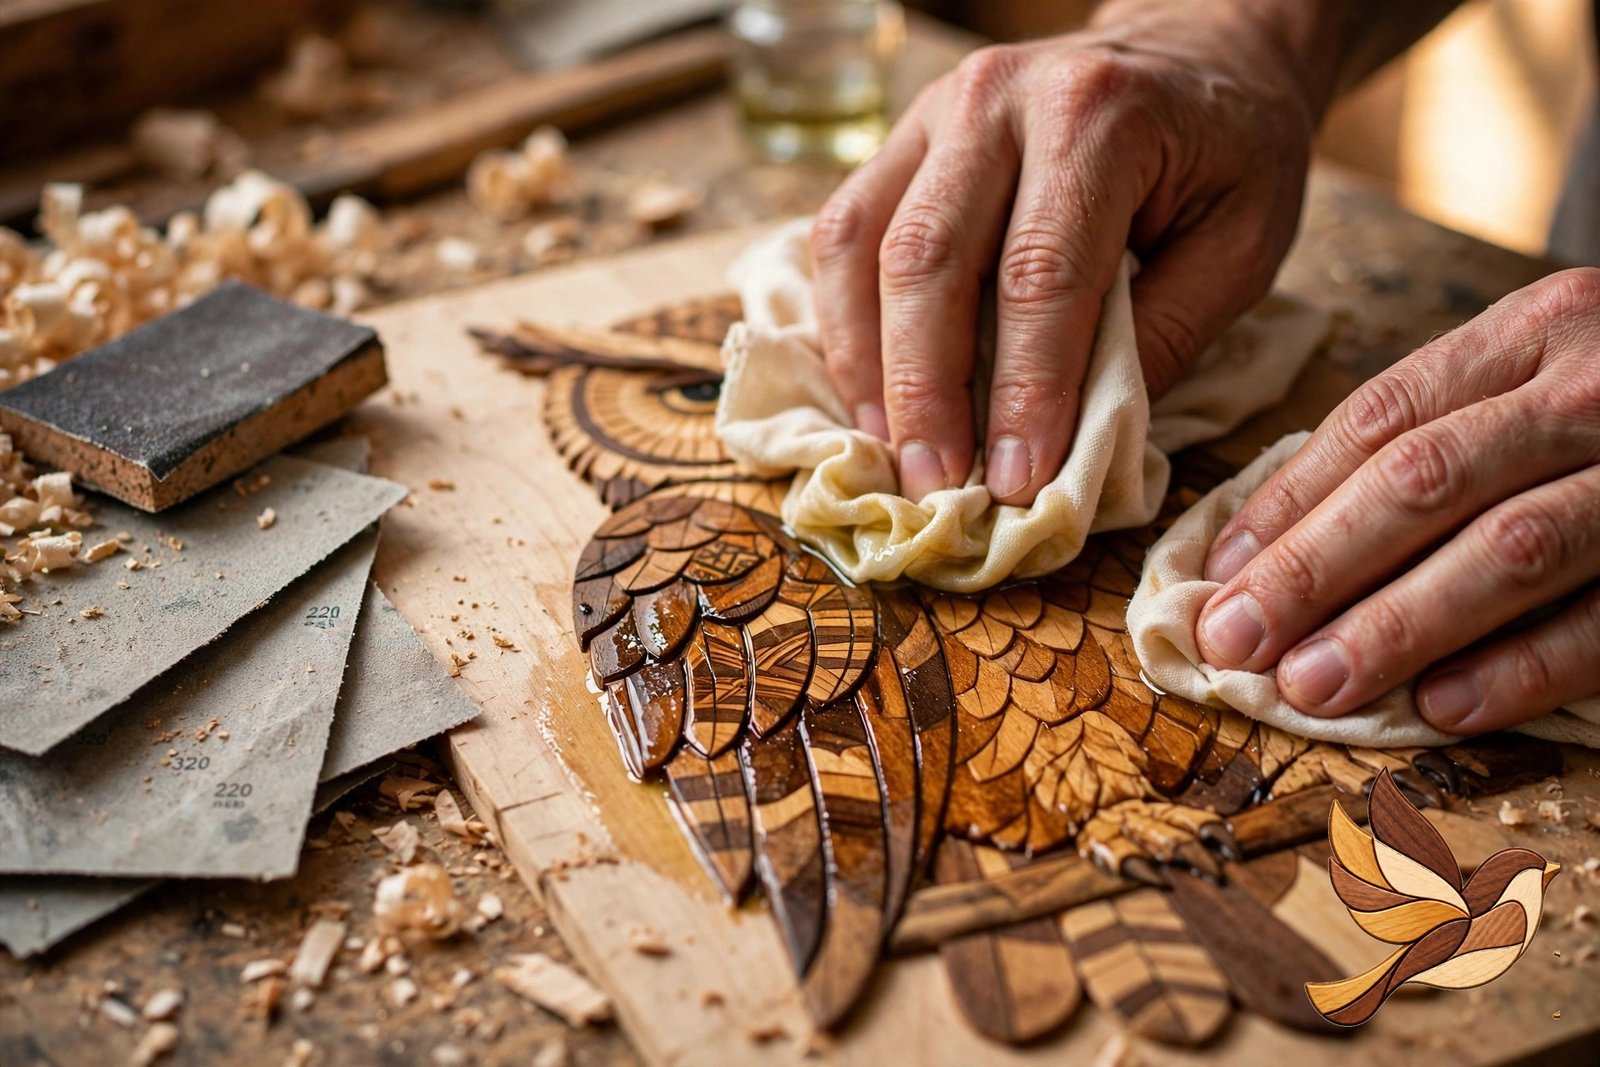
Sand each piece individually before assembly, progressing through grits: start around 120 grit to remove saw marks and shape, move to 180–220 grit for general smoothing, and finish at 320 grit on pieces that will be prominent. Skip a stage and the scratches from the coarser stage survive under your finish, visible forever.
Two warnings. First, do not over-sand the faces that join: mating edges need to stay crisp and true, so keep them flat and square while you round only the visible edges. Second, clean between grits — a brush or tack cloth removes loose abrasive grains that would otherwise carve random deep scratches into the next stage.
Step 4: Glue-Up and the Backer Board
With shaping and sanding done, glue the pieces edge to edge in small groups (a wing, then the body, then join the groups), working on a flat surface covered with wax paper so squeeze-out does not stick. Once the full picture is assembled and the glue has cured, glue it to its backer board — thin plywood or MDF, cut slightly smaller than the artwork’s outline so it stays invisible from the front — and add a sawtooth hanger or wire. Wipe the whole piece with a tack cloth one final time; any dust left now becomes a permanent feature under the finish.
Step 5: Choose Your Finish
Intarsia finishes exist to do two jobs: protect the wood and deepen its natural colour. The main options:
- Danish oil / tung oil finishes — the intarsia favourite. Wipe on, let soak, wipe off. Oils give a warm, low-sheen glow, make grain and colour contrast richer, and are easy to repair later. Usually 2–3 coats.
- Wipe-on polyurethane — a thin, forgiving film finish with more protection and a slightly glossier look; good for pieces that will be handled or hung in kitchens and bathrooms.
- Spray lacquer or clear coat — fast and very even, popular for seasonal pieces made in batches; apply several light coats rather than one heavy one.
- Wax alone — the softest, most natural look, but the least protection; best reserved for pieces displayed away from sunlight and moisture.
Whatever you choose, test it on offcuts of the same species first. Oils darken pale woods noticeably — hard maple stays bright, but basswood and poplar can warm up more than you expect, and knowing that before the real piece is finished is the difference between a plan and a surprise.
Step 6: Apply, Cure and Inspect
Apply your finish in a dust-free space, piece well lit, following the product’s own recoat times. Between coats, a very light pass with 400-grit paper or a fine abrasive pad (once the coat has dried) keeps the surface silky. When the final coat cures, inspect the piece at a window: raking daylight exposes missed spots, drips and dull patches that workshop light hides. Touch up as needed, let it cure fully, and your intarsia is ready to hang.
Finishing skill grows with every project. If you are planning your next piece, the patterns in our intarsia shop range from simple shapes that finish in an afternoon to detailed wildlife scenes where careful contouring really shows — and if you are new to the whole process, start with our beginner’s guide to intarsia.
Frequently Asked Questions
What is the best finish for intarsia?
For most pieces, a wipe-on oil finish such as Danish oil is the best all-round choice: it deepens natural colours, gives a soft professional sheen, and is simple to apply and repair. Choose wipe-on polyurethane when the piece needs harder-wearing protection.
Should I finish intarsia pieces before or after gluing?
Shape and sand before assembly, but apply the finish after glue-up. Finish on mating edges weakens glue joints, and finishing the assembled piece gives an even sheen across the whole picture.
How do I make intarsia pieces look rounded and 3D?
Round every visible edge with a sanding drum or by hand, contour each piece to follow the real subject’s shape, and raise or lower pieces on thin shims so foreground elements sit higher. Depth comes from shaping and height differences, not from the finish.
How fine should I sand intarsia?
Work through 120, then 180–220, finishing around 320 grit on prominent pieces. Sanding much finer can polish the wood so much that oil finishes soak in unevenly, so 320 is a practical stopping point for most species.

Zaid Hussain
Articles from IntarsiaPattern focus on intarsia woodworking, scroll saw techniques, digital patterns and practical project guidance.


Pingback: How to Transfer a Pattern to Wood: 5 Methods Intarsia Makers Actually Use - IntarsiaPattern | Intarsia Woodworking & Scroll Saw Patterns
Pingback: Intarsia Christmas Gifts: Handmade Wooden Gifts to Make This Year
Pingback: How to Hang Intarsia Wall Art: 4 Proven Methods That Keep It Safe