
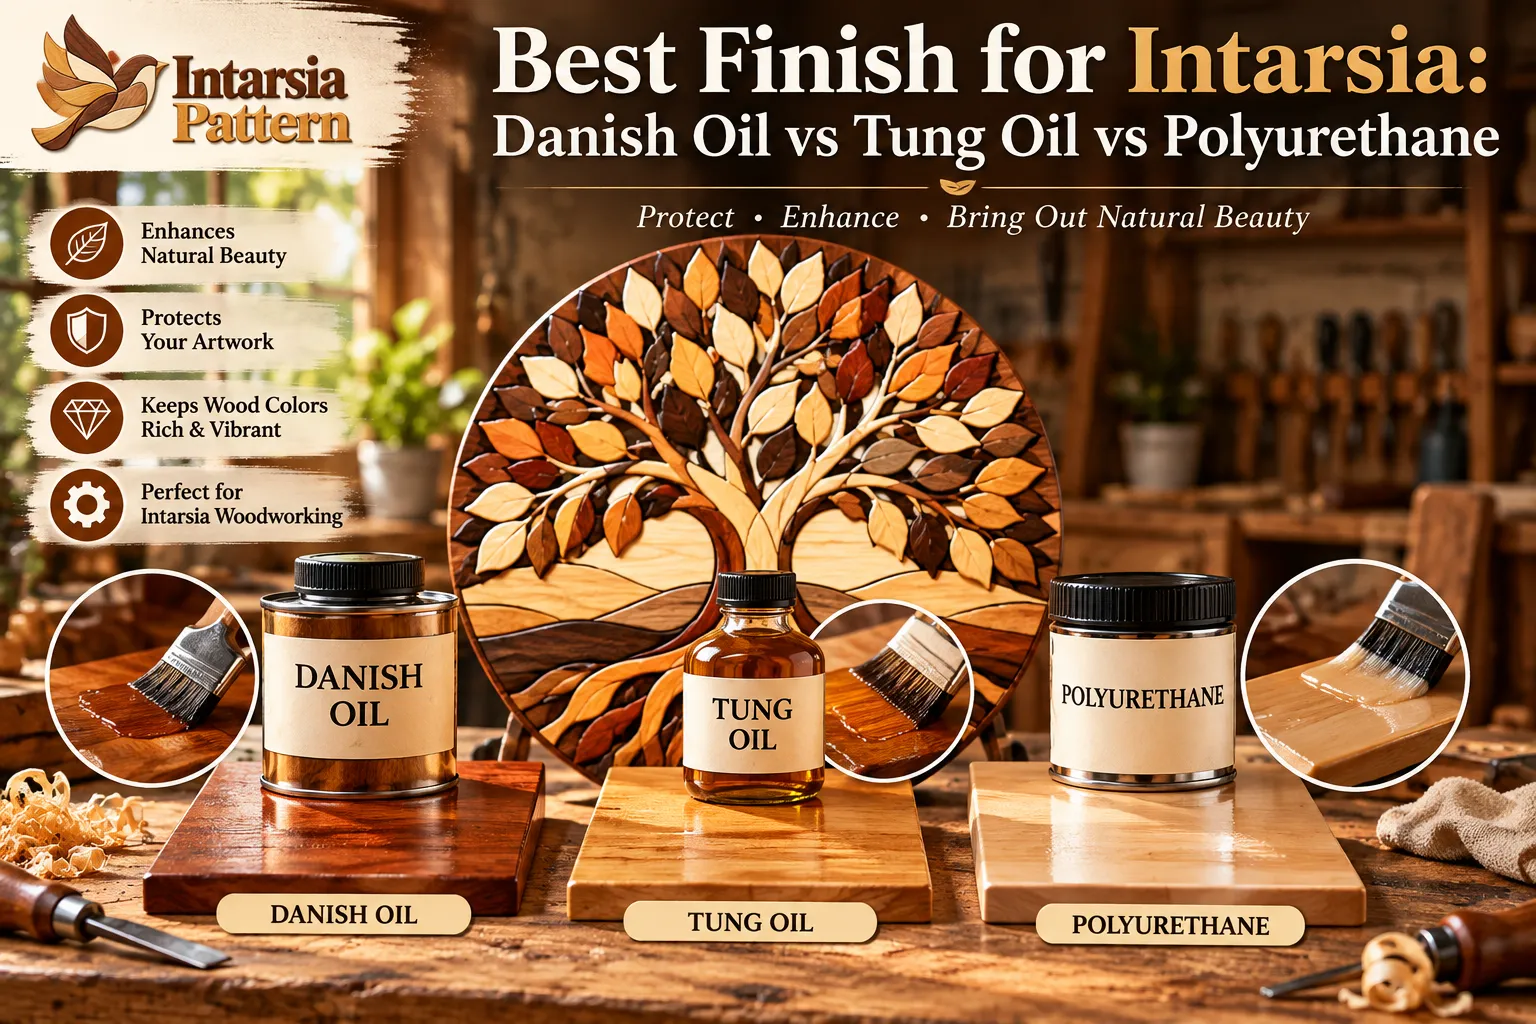
You’ve spent hours cutting, sanding, shaping, and fitting your wooden pieces. Your intarsia artwork finally looks beautiful.
Then comes a surprisingly difficult question: What finish should you use?
Should you choose Danish oil for its warm, natural appearance? Pure tung oil for its subtle sheen? Or polyurethane for stronger surface protection?
Choosing the best finish for intarsia is about more than making wood shiny. The right finish can highlight grain patterns, preserve carefully selected colors, and protect the details that make your artwork special.
The wrong choice may turn pale maple yellow, leave sticky residue between pieces, or create unwanted buildup around delicate edges.
In this guide, we’ll compare Danish oil, tung oil, and polyurethane specifically for intarsia woodworking. You’ll learn how each finish works, when to use it, and how to avoid common finishing mistakes.
What Is the Best Finish for Intarsia Woodworking?
For most indoor decorative projects, Danish oil is a practical option when you want a warm, hand-rubbed appearance that highlights natural wood grain.
Pure tung oil is worth considering when you prefer a subtle, low-sheen finish and don’t mind a longer curing process.
Polyurethane is generally the stronger option when your project needs a more protective surface coating.
But there’s another important difference.
Water-based polyurethane usually preserves pale wood colors better, while traditional oil-based polyurethane tends to add an amber tone.
That difference matters when your intarsia pattern contains contrasting wood species.
For example, imagine a wooden bird featuring white maple feathers, a walnut body, and reddish-brown wings.
A finish that beautifully warms the walnut might change the appearance of those pale feathers.
That’s why choosing a finish should begin with your design’s colors, not simply the most popular product.
Danish Oil vs Tung Oil vs Polyurethane: Quick Comparison
| Feature | Danish Oil | Pure Tung Oil | Polyurethane |
|---|---|---|---|
| Appearance | Warm, natural, hand-rubbed | Natural, matte to soft satin | Matte, satin, semi-gloss or gloss |
| Grain enhancement | Strong | Good | Varies by formulation |
| Color effect | Usually warms or darkens wood | Usually warms wood | Water-based stays clearer; oil-based ambers |
| Surface protection | Light to moderate | Moderate moisture resistance after curing; limited abrasion resistance | Generally strongest protective film |
| Application | Wipe or brush, remove excess | Apply thinly, remove excess | Brush, wipe or spray, depending on product |
| Drying and curing | Product dependent | Often takes weeks to cure fully | Product dependent |
| Repair | Relatively straightforward | Relatively straightforward | Local repairs can be more noticeable |
| Main advantage | Easy natural-looking finish | Subtle appearance | Durable surface protection |
Remember that Danish oil formulas vary between manufacturers. Some products contain drying oils and varnish resins, while others are formulated differently.
Similarly, a product labeled “tung oil finish” may be a blended varnish rather than 100% pure tung oil.
Always read the product label before deciding.
Why the Best Finish for Intarsia Is Different From Ordinary Wood Finishing
Intarsia artwork is not constructed like a typical wooden tabletop.
Instead, individual pieces are cut, fitted, shaped, and assembled to create a dimensional image.
A detailed bird, for example, may contain raised feathers, narrow joints, curved surfaces, and several different wood species.
These features create special finishing challenges.
Intarsia Woodworking Uses Different Wood Species Together
A traditional woodworking project may use one species of wood throughout.
Intarsia often combines several species in the same artwork.
You might use maple for highlights, cherry for warm colors, and walnut for shadows.
Each species can absorb and react to a finish differently.
A finish that looks subtle on walnut may produce a much more noticeable color change on maple.
Testing matters because the contrast between pieces is part of the artistic design.
Raised Pieces Make Application More Difficult
Intarsia pieces frequently have rounded surfaces and different heights.
Some areas are easy to reach with a cloth.
Others contain narrow recesses where finishing products can collect.
If too much polyurethane builds up between raised pieces, it can soften the visual separation between them.
If excess oil remains inside a narrow gap, the surface may stay tacky longer than expected.
Applying thin, controlled coats is especially important.
Your Intarsia Pattern Determines the Finishing Strategy
A simple floral pattern with large petals may be easier to finish than a detailed wildlife portrait with dozens of narrow feather pieces.
The material, level of detail, and intended display location should all influence your decision.
If you’re new to the technique, our What Is Intarsia? guide explains how separate wooden pieces create dimensional artwork.
Danish Oil for Intarsia: Warm Color and Natural Grain
Danish oil is a popular choice for decorative woodworking because it is relatively easy to apply and can bring out attractive natural grain patterns.
Many commercial Danish oil products combine penetrating oils with varnish components.
They are designed to produce a warm, hand-rubbed appearance without the heavy surface buildup associated with thick coats of film-forming finishes.
Why Danish Oil Works Well for Intarsia Woodworking
Imagine a wildlife intarsia pattern made from walnut, cherry, and oak.
These woods have attractive natural colors that can become more noticeable when finished with a suitable penetrating oil blend.
Danish oil can highlight the contrast between the pieces while keeping the overall appearance relatively natural.
For indoor decorative artwork, this balance between appearance and application convenience can be appealing.
Advantages of Danish Oil
Danish oil is worth considering for projects where the wood grain is a major visual feature.
Its advantages include straightforward wipe-on application, a natural-looking finish, and relatively easy local maintenance.
It can be particularly attractive on walnut, cherry, and other woods with warm or dark coloring.
However, its protection depends on the particular formulation and is generally less substantial than a properly applied polyurethane film.
Disadvantages of Danish Oil
Danish oil can noticeably deepen wood colors.
That may be desirable for dark walnut, but less desirable for pale wood sections.
Excess oil must also be removed carefully.
Leaving too much product on the surface can create a sticky, uneven result.
Best Finish for Intarsia Tip: Test Danish Oil on Every Wood Species
Before finishing the complete project, prepare small scraps of every wood species used in your design.
Sand each scrap to the same grit as your actual artwork.
Apply the Danish oil according to its instructions.
Compare the treated pieces with their unfinished appearance after drying.
This simple test can prevent an unexpected color change across the finished artwork.
Pure Tung Oil for Intarsia: A Natural, Low-Sheen Alternative
Pure tung oil is a drying oil derived from the seeds of the tung tree.
It penetrates wood and gradually cures through oxidation.
When properly applied, it produces a relatively natural appearance without creating the thick surface film associated with polyurethane.
However, the word “pure” matters.
Some products sold as tung oil finishes contain varnish resins, solvents, or other ingredients.
If you specifically want pure tung oil, check that the product is identified as 100% pure tung oil.
When Should You Choose Tung Oil?
Pure tung oil is useful when you want to emphasize natural wood texture without a glossy surface.
Consider a floral intarsia artwork with softly rounded petals, carved leaves, and natural grain details.
A low-sheen finish may allow those surfaces to remain the main attraction.
Pure tung oil can provide that understated appearance.
Advantages of Tung Oil
Pure tung oil can produce an attractive natural finish with some moisture resistance after proper curing.
It does not create a thick plastic-like film, and localized maintenance can be relatively straightforward.
For decorative projects with minimal handling, this may be sufficient.
Disadvantages of Tung Oil
The biggest disadvantage is time.
Pure tung oil can take several weeks to cure fully, depending on the product, application method, temperature, and humidity.
It may require multiple applications.
Excess oil must be wiped away, and surfaces should not be packed or handled heavily before sufficient curing.
Pure tung oil also provides less abrasion and scratch protection than a durable polyurethane coating.
Intarsia Woodworking Tip: Don’t Confuse Drying With Curing
A surface can feel dry before its finish has fully cured.
This is particularly important when preparing artwork for shipping, gifting, or display.
Packing an insufficiently cured finish against protective material can damage the surface.
Follow the manufacturer’s recommended full curing period rather than relying only on how the wood feels.
Polyurethane for Intarsia: Stronger Surface Protection
Polyurethane is a film-forming wood finish.
Unlike a simple penetrating oil, it creates a protective coating over the wood surface.
This makes it useful for artwork that needs additional resistance to handling, moisture, and everyday environmental exposure.
However, polyurethane isn’t one single product.
The two main categories you’ll encounter are water-based and oil-based polyurethane.
Water-Based Polyurethane for Light Woods
Water-based polyurethane is often a good option when maintaining light wood colors is important.
For example, imagine a bird intarsia pattern containing pale maple feathers beside dark walnut sections.
A conventional clear-drying water-based topcoat can help preserve the distinction between those woods.
This makes it especially useful for designs containing ivory, cream, and other light-colored pieces.
Water-based polyurethane also typically produces less ambering than traditional oil-based polyurethane.
However, it can raise the wood grain during application, so careful preparation and light sanding between coats may be needed.
Oil-Based Polyurethane for Warm Wood Tones
Oil-based polyurethane generally creates a warmer, more amber appearance.
That can complement walnut, cherry, oak, and rustic designs.
It also provides a durable protective film when applied correctly.
However, ambering can change the appearance of light-colored woods, particularly over time.
For detailed intarsia projects, application requires care to avoid runs, thick edges, and pooled finish.
Should You Use Matte, Satin, or Gloss Polyurethane?
For most decorative intarsia, satin or matte finishes are worth considering.
They allow natural wood grain and shaped surfaces to remain visually prominent.
Gloss finishes can be attractive for certain projects, but their reflections may draw attention away from delicate carved details.
There is no universal rule.
The best sheen depends on the appearance you want and the lighting where the artwork will be displayed.
Best Finish for Intarsia Tip: Avoid Heavy Film Buildup
A common mistake is applying a thick coat in an attempt to provide more protection.
With detailed intarsia, heavy coatings can collect along the edges of individual pieces.
Apply the product using the manufacturer’s recommended coat thickness.
Pay special attention to recesses and corners.
Several properly applied coats are generally preferable to one uncontrolled heavy coat.
How to Choose the Best Finish for Intarsia Based on Your Project
Different projects benefit from different finishing priorities.
Wildlife Intarsia Patterns
Wildlife designs often combine multiple wood species to create feathers, fur, scales, or shadows.
For a walnut-and-cherry animal portrait, Danish oil can enhance the warmth of the wood.
For a bird design featuring pale maple sections, clear-drying water-based polyurethane may be preferable.
Always test the actual wood combination first.
Floral Intarsia Woodworking Projects
Flowers frequently contain light petals, colorful leaves, and small dimensional details.
A matte or satin water-based polyurethane can be a useful choice when color preservation is a priority.
Pure tung oil may work well for a deliberately warm, natural appearance when additional curing time is available.
Rustic Wall Art and Tree Designs
Tree of Life artwork, woodland scenes, and rustic cabin designs often emphasize natural brown and golden wood tones.
Danish oil can complement those colors beautifully.
Oil-based polyurethane is another option when a warmer appearance and stronger surface protection are desired.
Decorative Pieces That Will Be Handled Frequently
When artwork will be touched, cleaned, or moved frequently, a durable polyurethane coating may offer advantages.
For delicate pieces intended mainly for indoor wall display, ease of application and natural appearance may be more important than maximum wear resistance.
No standard indoor finish should automatically be treated as weatherproof. Outdoor artwork requires products specifically rated for exterior exposure, along with appropriate construction and maintenance.
Browse our Intarsia Patterns Shop to explore wildlife, floral, nature, and seasonal designs.
Should You Finish Intarsia Pieces Before or After Gluing?
This is one of the most important questions in intarsia woodworking.
Both methods can work, but they produce different challenges.
Finishing Before Assembly
Finishing individual pieces before attaching them to the backing allows easier access to curved surfaces and exposed sides.
This can be especially useful for projects with many tightly fitted components.
However, the surfaces that need to bond to the backing should remain suitable for the adhesive.
For conventional wood-glue construction, that usually means keeping the underside glue-contact areas free from oil and polyurethane.
Allow the finish to dry or cure as required before assembly.
Finishing After Assembly
Finishing an assembled project can be faster.
It may work particularly well for simpler designs with larger components and easily accessible surfaces.
The disadvantage is that recessed areas and narrow gaps can be harder to reach.
You must also take care to prevent oil or polyurethane from collecting around glue joints.
Which Method Is Better?
For highly detailed intarsia, finishing individual pieces before assembly can give you greater control.
For relatively simple projects, finishing after assembly may be convenient.
The better approach depends on the finish, adhesive, design complexity, and your preferred working method.
How to Apply the Best Finish for Intarsia: Step-by-Step
A careful finishing process begins before opening the product container.
Step 1: Complete All Cutting and Shaping
Finish cutting, fitting, and contouring every wooden component.
Inspect the edges and correct visible gaps.
Avoid using finishing products to hide cutting or fitting mistakes.
Step 2: Sand the Wood Properly
For many projects, a practical sanding sequence is 120-grit, followed by 180-grit and 220-grit.
Use coarser abrasives only when necessary to remove tool marks or correct shaping.
Be particularly careful around delicate leaf tips, feathers, and narrow projections.
Step 3: Remove Dust
Dust can interfere with the final appearance.
Use suitable dust extraction and a clean soft brush or lint-free material.
Pay special attention to recessed details.
Step 4: Prepare a Finish Test Board
Use offcuts from the actual project.
Apply the intended finish to each wood species.
Compare the final color and sheen after the sample dries or cures.
This is especially important when combining pale maple, cherry, walnut, and colored wood.
Step 5: Apply Thin, Controlled Coats
For Danish oil or pure tung oil, follow the product’s directions and remove all excess within the specified time.
For polyurethane, use the application method and recoat schedule recommended by the manufacturer.
Do not assume different brands have identical instructions.
Step 6: Allow Proper Drying and Curing
Give every coat the necessary time.
Temperature, humidity, film thickness, and product chemistry can affect drying.
Do not rush assembly, packaging, or final display.
Step 7: Complete Assembly and Final Inspection
If finishing individual pieces before gluing, keep bonding surfaces appropriate for the selected adhesive.
After assembly, inspect the project for finish buildup, remaining dust, glue residue, and damaged edges.
Check the backing and mounting hardware before displaying the finished artwork.
Can You Apply Polyurethane Over Danish Oil or Tung Oil?
Sometimes, but only when the specific products are compatible.
For example, the manufacturer of Watco Danish Oil permits certain polyurethane topcoats after a stated minimum drying period.
However, that does not mean every water-based polyurethane can safely be applied over every oil finish.
Some manufacturers specifically advise against applying particular water-based coatings over long-oil finishes such as Danish oil or tung oil.
Pure tung oil may also require a significantly longer curing period.
Never assume that a dry-to-the-touch surface is ready for a different coating.
Check both manufacturers’ instructions, allow sufficient curing, and test the complete finishing system on scrap wood before using it on your project.
For many decorative intarsia pieces, choosing one suitable finish system from the beginning is simpler.
Common Intarsia Finishing Mistakes to Avoid
Applying Too Much Finish
Too much oil can produce sticky patches.
Too much polyurethane can create drips, bubbles, or unwanted buildup.
Use controlled amounts and follow the product instructions.
Ignoring Differences Between Wood Species
Pale and dark woods respond differently to finishes.
A finish should be tested across every wood species, not only the background.
Coating Glue Surfaces Before Assembly
Oil, wax, and some film finishes can interfere with conventional wood-glue bonding.
Keep planned glue-contact areas clean and suitable for the adhesive.
Mixing Incompatible Finishes
Do not assume Danish oil, tung oil, and polyurethane can always be layered together.
Use a compatible finishing system rather than experimenting on completed artwork.
Forgetting Workshop Safety
Many oil-based finishing products contain combustible solvents, and contaminated rags may pose a spontaneous-combustion hazard.
Follow the product’s instructions for ventilation, protective equipment, rag storage, and disposal.
Never leave oil-soaked finishing rags crumpled in a pile.
Frequently Asked Questions About the Best Finish for Intarsia
What is the best finish for intarsia beginners?
Danish oil can be approachable for beginners who want a warm natural appearance and straightforward wipe-on application.
However, clear-drying water-based polyurethane may be a better choice when preserving light wood colors is important.
Is Danish oil better than tung oil for intarsia woodworking?
Neither is automatically better.
Danish oil is often more convenient when you want a warm hand-rubbed appearance without a prolonged finishing schedule.
Pure tung oil is useful when you prefer a subtle natural finish and can accommodate a longer curing period.
Will polyurethane make intarsia look too shiny?
Not necessarily.
Polyurethane is available in different sheens, including matte and satin.
Choosing an appropriate sheen and avoiding excessive film buildup can help preserve the visual character of dimensional wood art.
Does tung oil change the color of wood?
Yes. Pure tung oil can deepen and warm natural wood colors.
The extent of the change depends on the wood species and application.
Always test it on the actual materials used in your artwork.
Can I apply Danish oil to a finished intarsia pattern?
Yes, if the design is assembled from compatible bare wood and the product’s application requirements can be met.
However, applying oil after assembly may make narrow spaces harder to reach and wipe clean.
Should I seal the back of an intarsia project?
Appropriate protection of the backing may help manage moisture exposure, depending on the panel material and construction.
Use a compatible finish and consider both the front and back of the supporting panel.
Finishing alone cannot correct poor backing construction or prevent every type of wood movement.
Final Verdict: Which Finish Should You Choose?
The best finish for intarsia is the one that protects your work without compromising the colors, grain patterns, and dimensional details that make it distinctive.
Choose Danish oil when you want a warm, natural-looking finish and an accessible application process.
Choose pure tung oil when you prefer a subtle, low-sheen appearance and are comfortable allowing substantial curing time.
Choose polyurethane when stronger surface protection is the priority.
If preserving pale maple, holly, or other light woods matters, consider a clear-drying water-based polyurethane.
If you want to emphasize darker woods such as walnut and cherry, Danish oil or an appropriate oil-based finishing system may create an attractive warm appearance.
Whatever you choose, prepare test samples before finishing your actual project.
Beautiful intarsia woodworking depends on thoughtful decisions at every stage, from wood selection and cutting to shaping, assembly, and the final protective finish.
If you’re beginning your first project, visit our Intarsia for Beginners guide for practical woodworking advice.
You can also explore the growing collection of digital intarsia patterns at IntarsiaPattern, including designs inspired by wildlife, flowers, landscapes, and nature.
The finishing stage shouldn’t feel like a gamble. With the right preparation, it can be one of the most satisfying parts of creating beautiful wooden art.

Zaid Hussain
Articles from IntarsiaPattern focus on intarsia woodworking, scroll saw techniques, digital patterns and practical project guidance.


Comments 0
Have a question or something useful to add? Share it below.