

How to Transfer a Pattern to Wood: 5 Methods Intarsia Makers Actually Use
Every intarsia project has an unglamorous moment that decides everything: getting the pattern’s lines onto the wood, accurately, in a way that survives the saw. Transfer them badly and the pieces will not fit, the grain will run the wrong way, and no amount of sanding will save the picture. Transfer them well and cutting feels almost easy. This guide walks through the five pattern transfer methods intarsia makers actually use, with the honest strengths and weaknesses of each, so you can pick the one that suits your project and your bench.
Before Any Method: Print and Plan
Whichever method you choose, two steps come first. Print the pattern at 100% scale and verify it — most patterns include a test square or a stated finished dimension; measure it. A pattern printed at 96% still cuts beautifully, but the pieces will not match a backer or frame cut to the stated size. Second, plan your grain direction now, while the pattern is still paper. Mark an arrow on each major piece showing which way the grain should run — along a feather, down a wave, through a tree trunk. Grain direction is a design decision, not an afterthought, and it is free at this stage and expensive later. Our guide to the best wood for intarsia explains how species, colour and grain work together.
Method 1: Glue the Paper Pattern Directly to the Wood
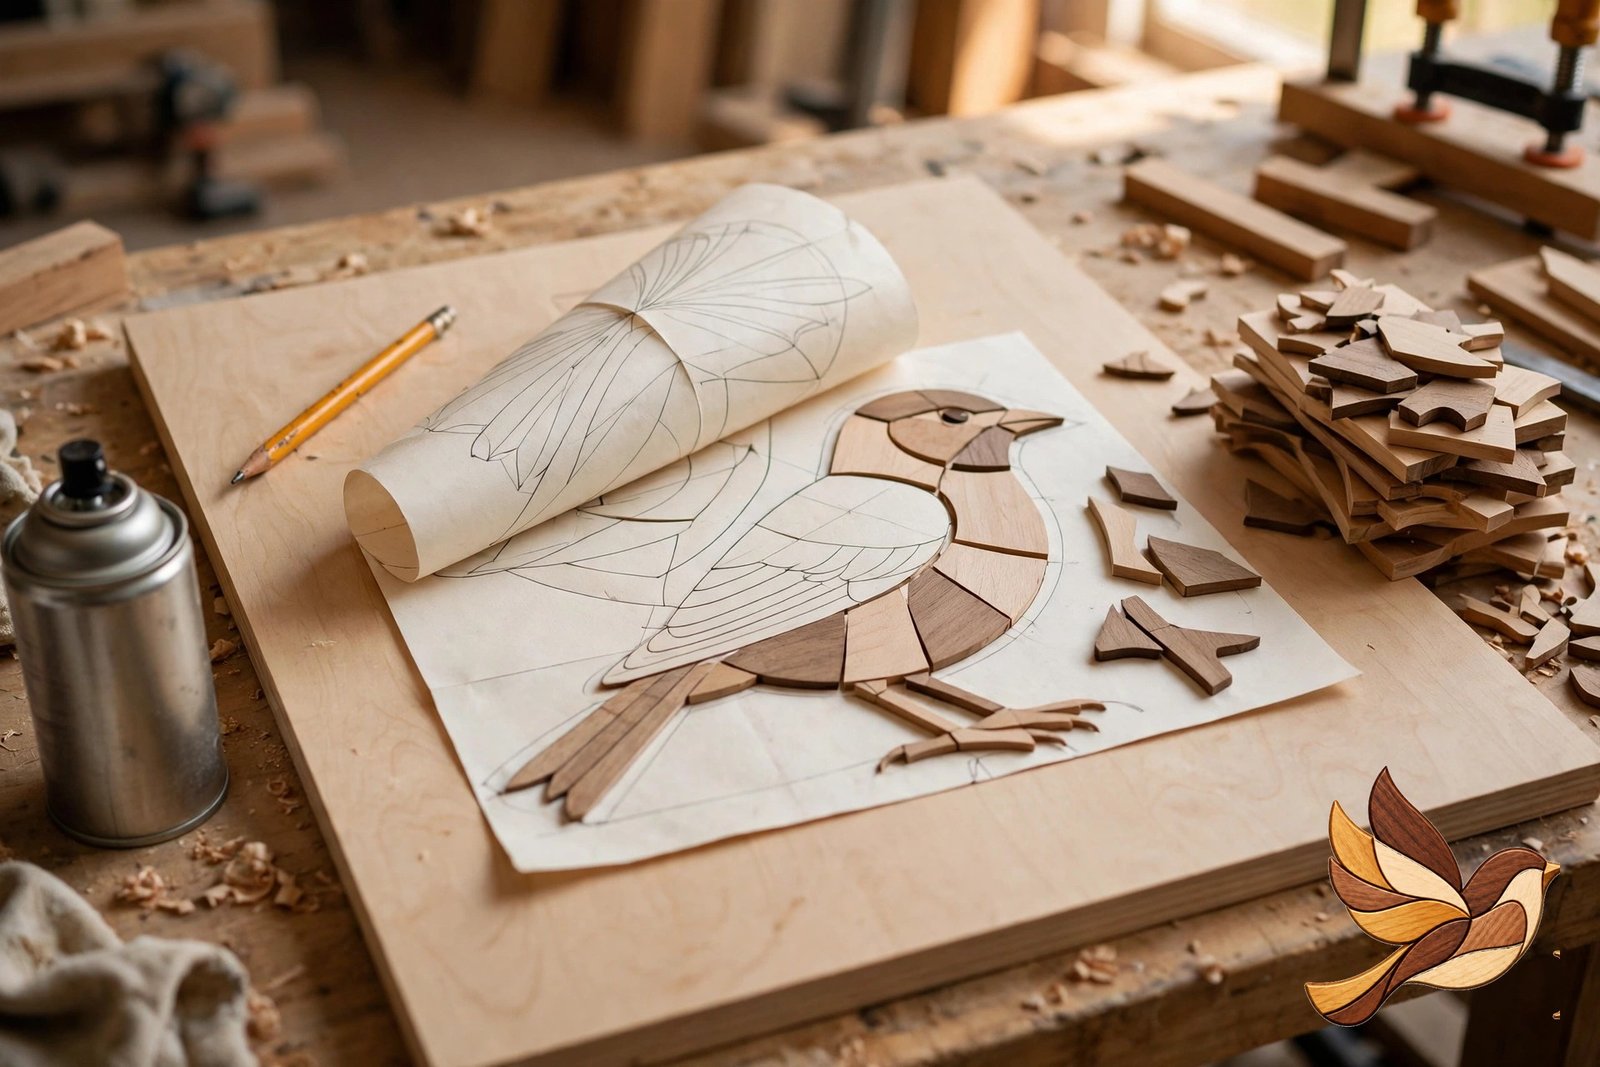
The most popular method in modern intarsia, and the one most beginners should start with. Print one copy of the pattern per wood species, cut roughly around the pieces that belong to that species, and stick the paper to the board with temporary spray adhesive (or a glue stick for small pieces). Cut straight through paper and wood together, then peel the paper off each finished piece.
Strengths: the most accurate method of all — the line you cut is the line that was drawn, with zero tracing error; fast to set up; pieces stay labelled by the paper itself. Weaknesses: you consume a printed copy per species; adhesive residue needs a quick wipe or light sand; cheap spray glue can let corners lift mid-cut, so press edges down firmly and let it tack up before cutting.
Method 2: Carbon Paper (Graphite Transfer Paper)
The classic. Lay carbon or graphite paper between the pattern and the wood, tape the pattern down on one edge so it can be lifted for checking without shifting, and trace every line with a pencil or stylus. A different coloured pen for tracing is a quiet superpower here — you can see at a glance which lines you have already done.
Strengths: one master pattern survives for reuse; no adhesive anywhere near your wood; works on dark woods if you switch to white graphite paper. Weaknesses: the slowest method on detailed designs; every traced line carries a small human error, and on a 70-piece wildlife design those errors add up at the joints; traced lines smudge under a busy hand, so many makers spray a whisper of clear matte sealer over the layout before cutting.
Method 3: Trace, Then Cut a Template Set
For designs you will make more than once — craft-fair sellers, this is yours — transfer the pattern once onto thin hardboard, plywood or thick card, cut out a full set of templates, and from then on simply draw around the templates onto each new board with a fine pencil.
Strengths: repeat builds become fast and consistent; templates double as a fitting check before you commit to good wood. Weaknesses: an extra cutting session up front; pencil lines are thicker than printed lines, so allow for the line width when fitting; templates of tiny pieces are fiddly to hold. For one-off pieces, this method is rarely worth it — but for your third identical Christmas design of the season, it pays for itself.
Method 4: Iron-On Transfer (Laser Prints and Transfer Tools)
Print the pattern in reverse with a laser printer (inkjet will not work), lay it face-down on the wood, and apply heat — a household iron or a woodburning-style transfer tool — to release the toner onto the surface. Peel the paper away and the design sits directly in the wood.
Strengths: crisp, smudge-proof lines with nothing glued to the surface; excellent for a single large piece. Weaknesses: remembering to reverse the design (forget once, and your eagle flies the wrong way forever); heat can raise the grain on some species; results vary with printer and toner, so test on an offcut of the same wood before trusting it with the good board.
Method 5: Prick-and-Pounce (The Traditional Route)
The old cabinetmaker’s method: perforate the pattern’s lines with a pin or pounce wheel, lay the pattern on the wood, and dab powdered chalk or charcoal through the holes with a small fabric pouch, leaving a dotted line to connect. Rarely the fastest choice today, but worth knowing — it transfers a pattern without any consumables but chalk, and it is still how some makers move very large designs onto boards too big for their printer.
Which Method Should You Choose?
- First projects and maximum accuracy: Method 1 (glue the paper on). It is why it dominates modern intarsia.
- One treasured pattern you will reuse as a master: Method 2 (carbon paper).
- Making multiples to sell or gift: Method 3 (templates).
- Single large showpiece, no glue residue wanted: Method 4 (iron-on).
- Oversized designs: Method 5, or tile-print the pattern and use Method 1.
Whichever you pick, do the two things that rescue more projects than any product on the shelf: number every piece on the pattern and on the wood, and take a photo of the pattern before the first cut. When forty similar-looking walnut pieces are spread across your bench, that photo is the map home. After transfer comes cutting — our beginner’s guide follows the whole process through, and our guide to finishing intarsia covers what happens after the last piece is cut. Ready to pick a design? The pattern shop has 29 to choose from.
Frequently Asked Questions
What glue is best for sticking a paper pattern to wood?
Temporary (repositionable) spray adhesive is the standard choice: it holds through cutting and peels off cleanly afterwards. A glue stick works for small pieces. Avoid permanent adhesives — you will sand the difference out of your forearms.
How do I remove pattern paper and glue residue after cutting?
Most paper peels away by hand. Stubborn residue lifts with a brief wipe of mineral spirits or citrus-based cleaner, and the light sanding every piece receives during shaping removes whatever is left.
Can I transfer a pattern onto dark wood like walnut?
Yes. Glued paper patterns work on any species because you cut through the paper itself. For tracing methods, use white or yellow graphite transfer paper, which shows clearly on dark woods where ordinary carbon paper disappears.
Should I cut on the line, inside it, or outside it?
Cut so the blade removes the line itself — “splitting the line” — keeping the piece at its drawn size. Whatever you choose, be consistent across the whole project; consistent technique is what makes forty separate pieces meet like one picture.

zaiduuu
Articles from IntarsiaPattern focus on intarsia woodworking, scroll saw techniques, digital patterns and practical project guidance.


Comments 0
Have a question or something useful to add? Share it below.